Spin Up a Website
In this guide, you'll learn how to spin up a website so you can hit the ground running.
Creating Your Website
To start building, you'll first need to create a website project. Log into the Console and navigate to the Websites
Dashboard.
1. Choose Your Starting Point
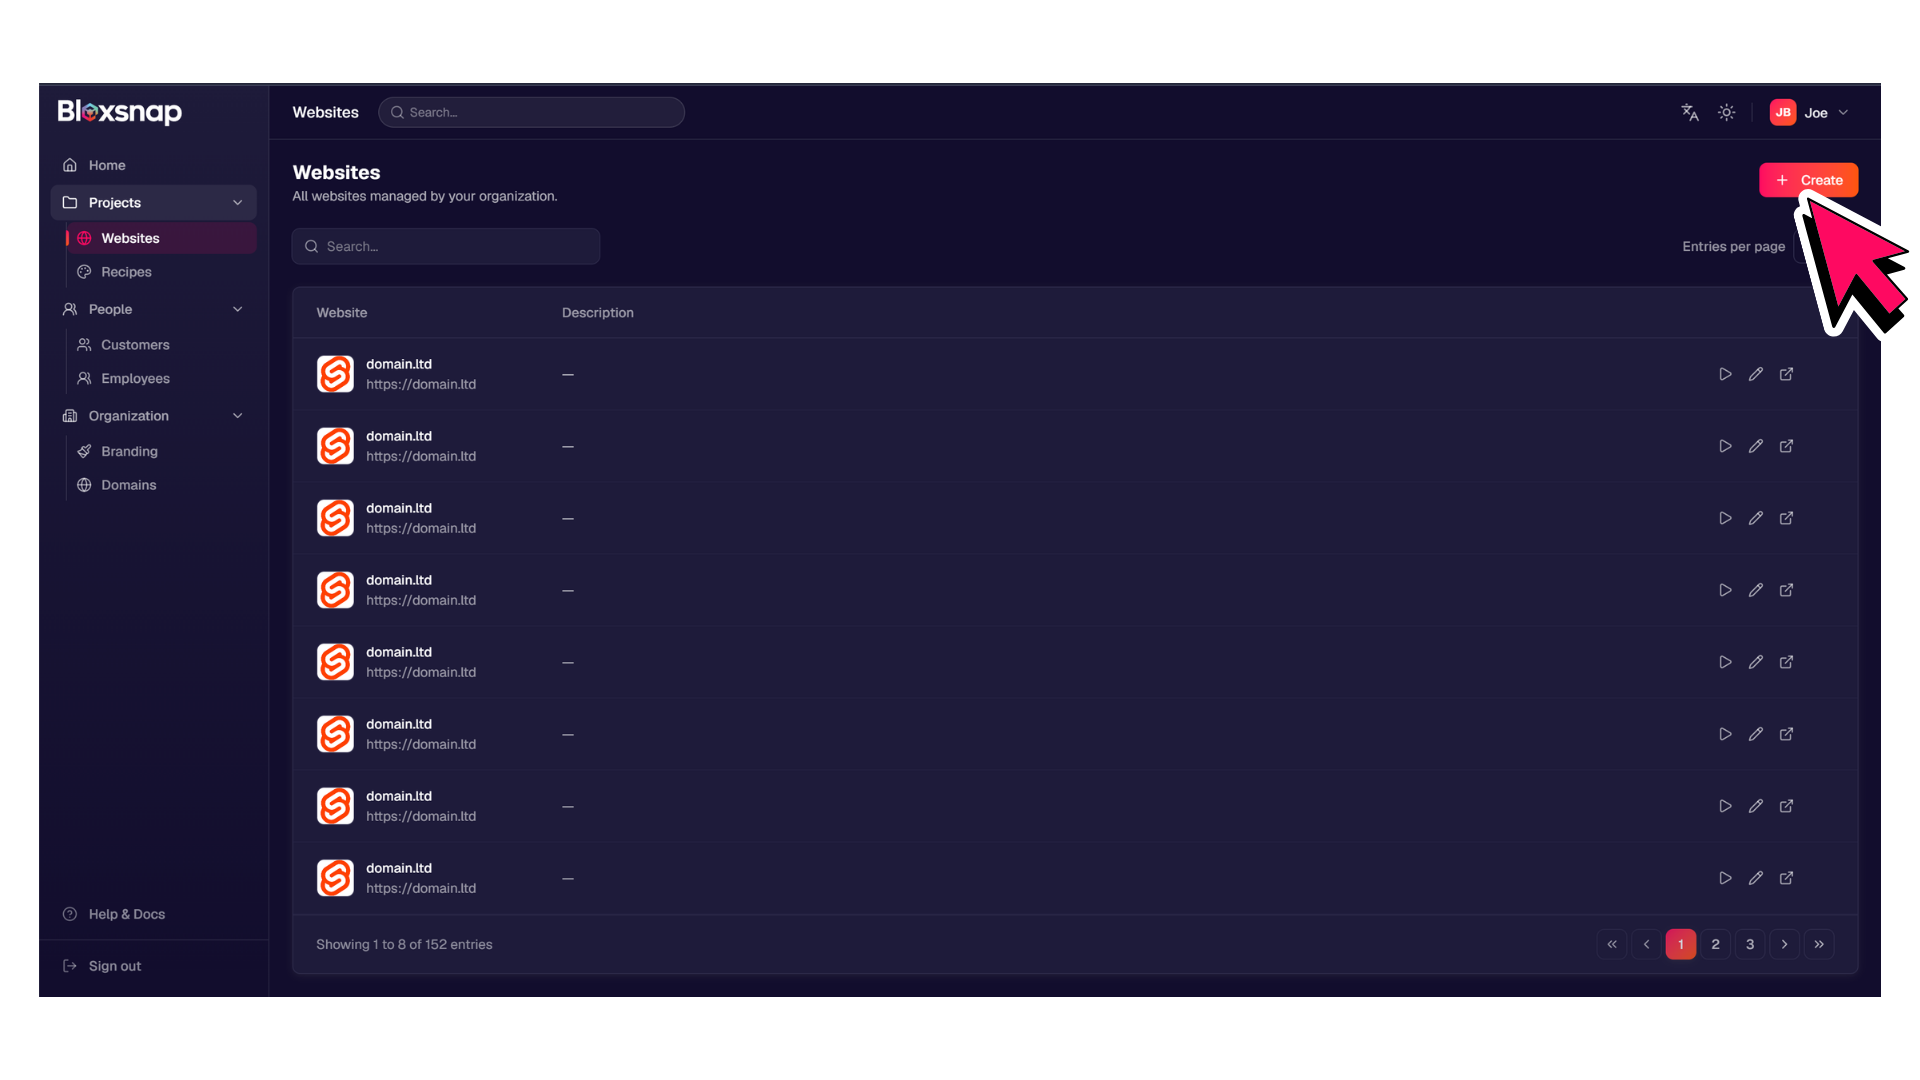 Click the
 Create button in the top right corner. You have two options:
- Start Fresh. Select
Empty Websiteto build a completely custom layout from scratch. - Accelerate with a Recipe. Choose a pre-configured
Recipefrom your available library to instantly load a base set of blueprints, blocks, and configurations.
2. Name Your Project & Add a Target Domain
Note: You do not need to connect your live DNS settings right now; this can be safely configured later.
Give your website a recognizable name and input your primary domain or temporary subdomain. Subdomains are allowed.
Enter the clean domain name only (e.g., mysite.com or dev.mysite.com). Do not include www, http://, or https:// in this field.
3. Choose a Default Language
Select the primary language for your website. If you intend to build a multilingual site, you can easily add translation variants inside your settings panel later.
4. Success!
Once you hit save, you can click to go to your new Website Dashboard, where you can open the Editor and begin building your pages.
Now, Choose Your Path
Now that your website is ready, let's look inside the platform. Choose the path below that matches what you'd like to accomplish:
Path A: The Visual Guide (For Editors & Content Managers) Start with our visual walkthrough if you're here to update text, manage images, or publish a quick change.
Path B: The Architecture Guide (For Developers & Designers) If you are an agency developer creating blueprints or a designer creating recipes skip straight to our structural breakdown.